

How Much Does It ACTUALLY Cost To Build A 1000+HP AWD Drag Civic?
Posted by Humble Performance on 15th Jan 2020

How much money does it REALLY cost to build an 8 second AWD Honda
Many people will say they can do it cheaper, but odds are none of those people have actually done it. Building an 8 second car is easy, just ask all the people who have never done it. In this article, I’m going to try to demystify building a proven 8 second civic that is ‘7 second capable’ using our experience. Our build mostly focused on building efficient power, that is, getting the most bang for buck in the build without cutting corners. When it comes to trapping 160+MPH and making 1000+HP, cutting corners should NEVER be a priority. So let’s break it down.
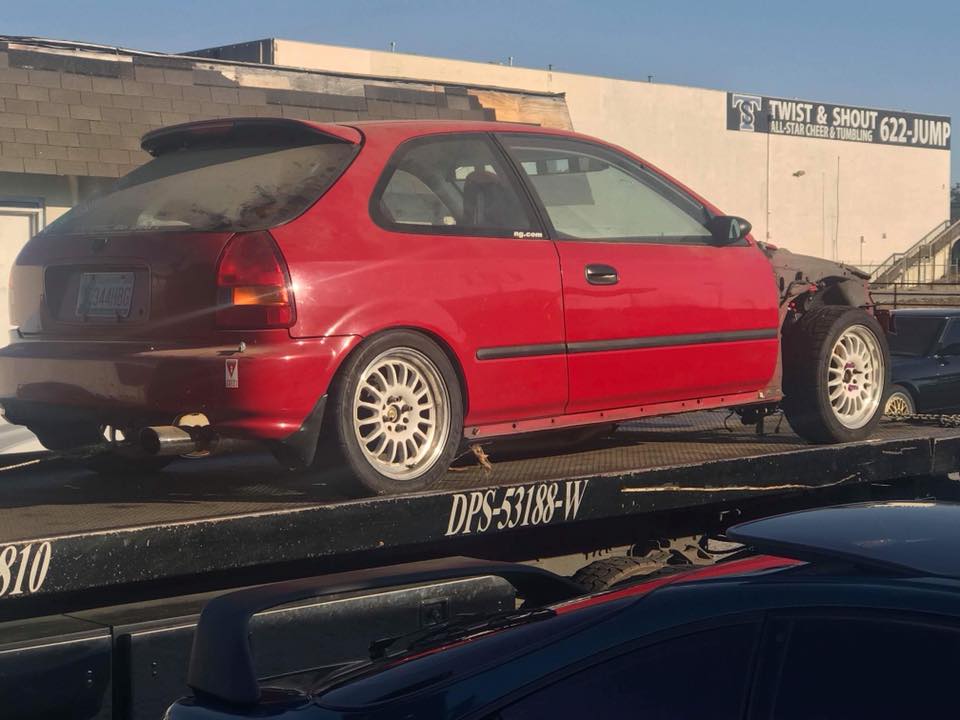
Chassis
Starting from the ground up. You’re going to need to start with a solid foundation. A good, straight shell will save you money on doing paint or body work later. For safety, to go 8.50 or slower, you’ll need a 10pt roll cage to stay legal. 150+MPH requires a parachute as well. So just to get yourself a roller with cage and parachute, we’ll be very conservative.
To mount the engine and trans we used the industry standard Hasport EKK5 engine mounts (with the revised rear bracket) with solid 6061 bushings to get all the power down.
CLEAN Shell: $1000
Humble Performance 10PT Cage: $2200
Parachute Setup: $500
Hasport EKK5 6061 $650
TOTAL: $4350

Shortblock
There are many ways to approach the powerplant. Traditionally, at the highest level, you’ll see 2.2L Aluminum rod Destroked K24s with ported cylinder heads. We took a more conservative approach to start. Darton Sleeved K20. O-Ringed. After installing sleeves, it always helps to line hone the block. Many will also opt for upgrading the main bolts in the process.
For the rotating assembly, we went with steel rods. Saenz 300M Steel Rods with 625+ bolts to make sure the assembly stays together at over 10,000 RPM. Keep in mind, when building a car that will see this much power, there are MANY benefits to running aluminum. Aluminum rods help absorb shock and save your crank and bearings from receiving a beating at high power levels. Steel rods require MUCH more maintenance in terms of bearing life. If you’re building a motor to last several races a season with the least maintenance, I’d recommend spending the money on aluminum rods.
For pistons, you’ll need reinforced pistons with heavy duty wrist pins. We elected to use the TRAUM OUTLAW K20 Pistons. 10.75:1 86.5mm. Standard ACL Race bearings as with every build.
When running high revs, oil delivery and avoiding cavitation is a major concern. The 4P Oil pump generates enough flow to make sure your bearings are getting all the oil the need. We run these pumps in all engine builds, as it’s just cheap insurance. To keep the head down, we use the ARP L19 Heavy Duty head studs. The Head studs, matched with a Cometic head gasket and o-rings make sure you get a good seal even at mind numbing boost levels.
K20 Block: $200
Darton Sleeves: $1250
O-Ring: $150
Line Hone: $250
TRAUM OUTLAW Pistons: $650
Saenz 300M Rods: $1200
Cometic Head Gasket: $90
ARP L19 Head Studs: $350
4P Ported Oil Pump: $325
ACL Bearings: $150
OEM Seals + Timing Components: $450
TOTAL: $5065
RUNNING TOTAL: $9415

Cylinder Head
For the cylinder head, there are many great options on stock ports. Because we’re ultimately going to be testing the 4Piston Pro TSX Cylinder head, we started with the TSX head. 4P recommends the Pro TSX due to the amount of material in the head from which to port. It is physically the strongest head for high boost pressure. Many people also elect to run K24 CRV head or a Ported RSX-S cylinder head.
For Springs/Retainers, seeing 10,000+RPM and 40-60psi of boost, we need a high pressure spring to make sure everything works the way it should. Supertech 100lb springs are a great cost effective option to make power.
For valves, there’s only one clear choice. Ferrea. On the intake side, we used Ferrea 6000, however due to the extreme heat conditions, the 6000s don’t suffice. If you’re planning on making 600+HP, you should always elect for the Ferrea Comp+ Valves. As we’ve tested through the years, the comp+ valves are the end all/be all for valves. These are the best part money can buy, and knowing 1 valve can destroy an entire engine, it’s cheap insurance.
Camshafts are a hotly debated item in the industry. We elected to use the tried and true Drag Cartel 002.2 camshaft after consulting with Jeremy at Drag Cartel. For 90% of turbo street cars, the 002.2 is the perfect cam for drive-ability and power delivery. In the future, we’ll be upgrading to a 003.2 when we upgrade the cylinder head. There are many great options to choose from, and we’ve used DC cams with great success.
TSX Core Head: $200
Supertech 100lb Springs/Retainers: $390
Ferrea 6000 Intake Valves: $100
Ferrea Comp+ Exhaust Valves: $191
Drag Cartel 002.2 Camshafts: $999
TOTAL: $1880
RUNNING TOTAL: $11,295

Forced Induction
At the time, the big daddy turbo in the AWD game was the 7685. Since then, the big dogs have moved up to the 8685 or larger turbochargers. It’s just a testamate to have fast the industry is moving. The 76 is no slouch, it’s also pretty hard on the wallet. To hang the 76 off the engine, we need a manifold designed to be the baddest of the bad. We went for the KLM Savage. The stepped design is made to alleviate back pressure. Due to the amount of air the K-series flows, they even run into back pressure issues on a 7685. So our main goal was to try to take as much out of the system as possible.
For cooling, knowing our goals were about 1000-1300HP, we used a Speedfactory 1000+HP Intercooler. With the amount of air being rammed into the system, we had to make sure we had a properly sized intake plenum. The Skunk2 Centerfeed had everything we wanted, 8 injectors, big center feed plenum with the ability to expand. We then mated a 90mm K-Tuned throttle body to the beast and fabricated all the intercooler piping in house.
Precision 7685: $4000
KLM Savage Turbo Manifold: $1500
SpeedFactory 1000HP Intercooler: $620
90mm K-Tuned TB: $330
Skunk2 Ultra Centerfeed W/ Spacer: $1190
TOTAL: $7640
RUNNING TOTAL: $18,935
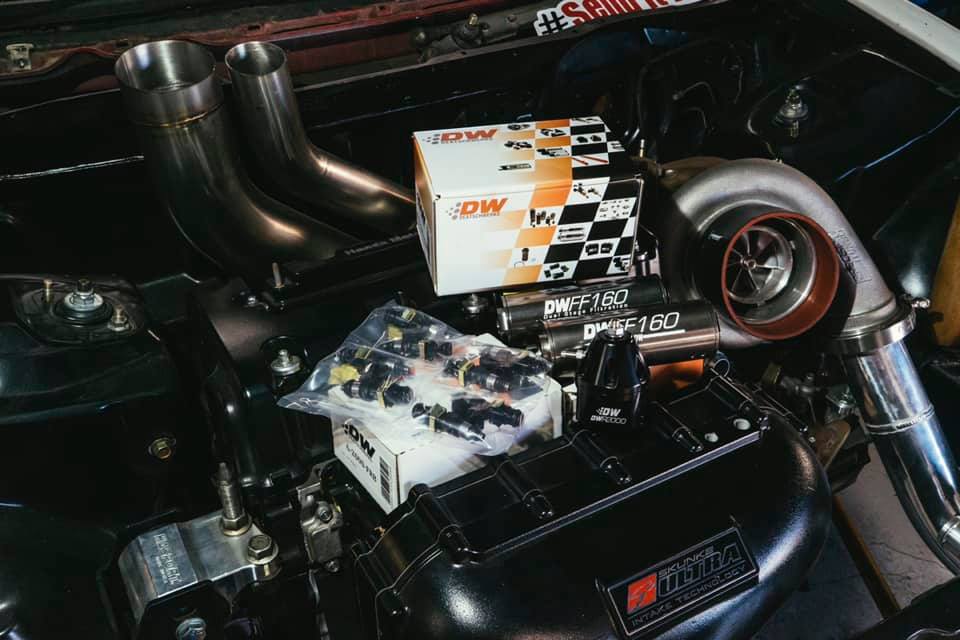
Fueling
Fueling is pretty straightforward. We used 2000cc DW injectors with DW 160 fuel filters mated to a Weldon 2345A 900+gph fuel pump. For fuel lines, we went -8an feed with a -6an return. K-Tuned billet fuel rails providing the flow we need with Vibrant lines and fittings. We custom fabricated a fuel cell in house. Knowing we were going to used a mixed fuel rather than straight C85 allowed us to use only 4 injectors rather than the traditional 8 due to the avaialbility of injector duty allotted to us due to the lack of ethanol.
DW2000 Injectors: $840
DW Fuel Filters: $320
Weldon 2345A: $1150
Fuel Lines: $600
Custom Fuel Cell: $300
K-Tuned Rail: $160
TOTAL: $3370
RUNNING TOTAL: $22,305
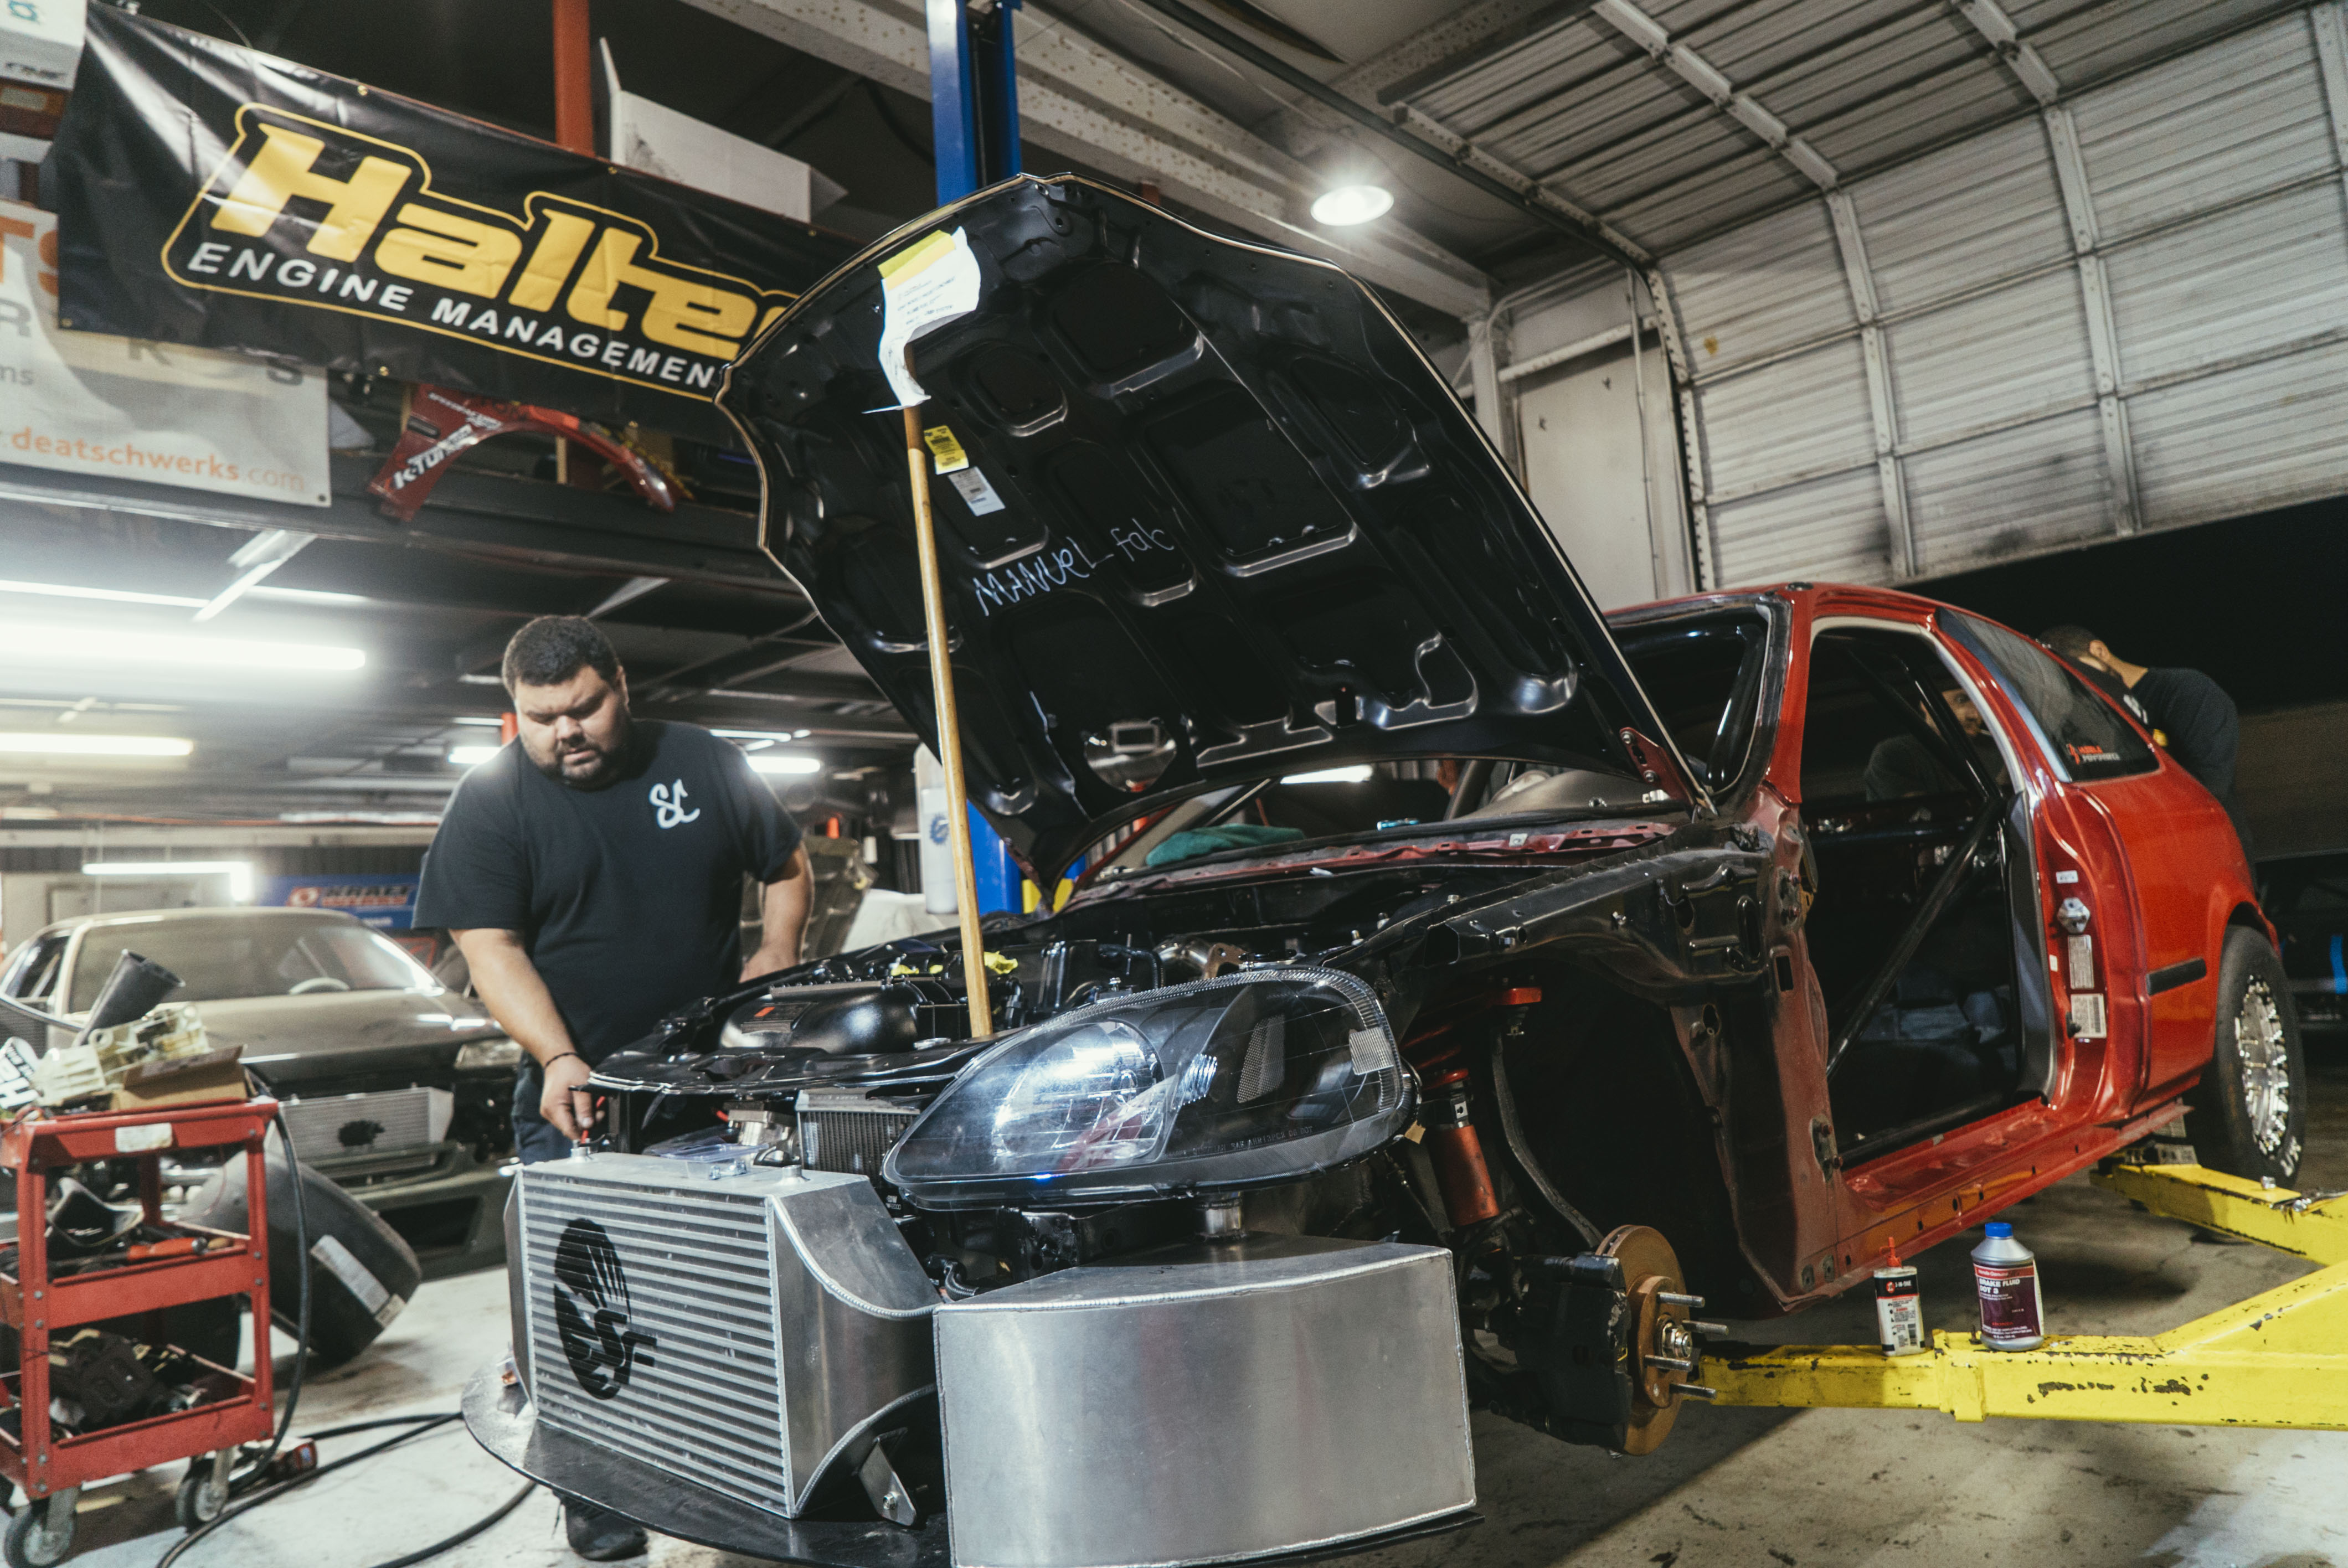
Electronics
The electronic setup is relatively simple. We used a Haltech Elite 2500 w/ their plug and play jumper making it a super simple affair getting it running using an OEM harness with a K-Tuned Sub-Harness. To handle powering all the accessories, we used an ARC-8000D. It’s an amazing switch panel with a relay box making install extremely easy and clean. The alternator was eliminated, so we ran a 16v battery to make the system as simple as possible.
Haltech Elite 2500: $2050
ARC-8000D: $370
4Gauge Wire: $50
16V Batter: $350
TOTAL: $2820
RUNNING TOTAL: $25,125
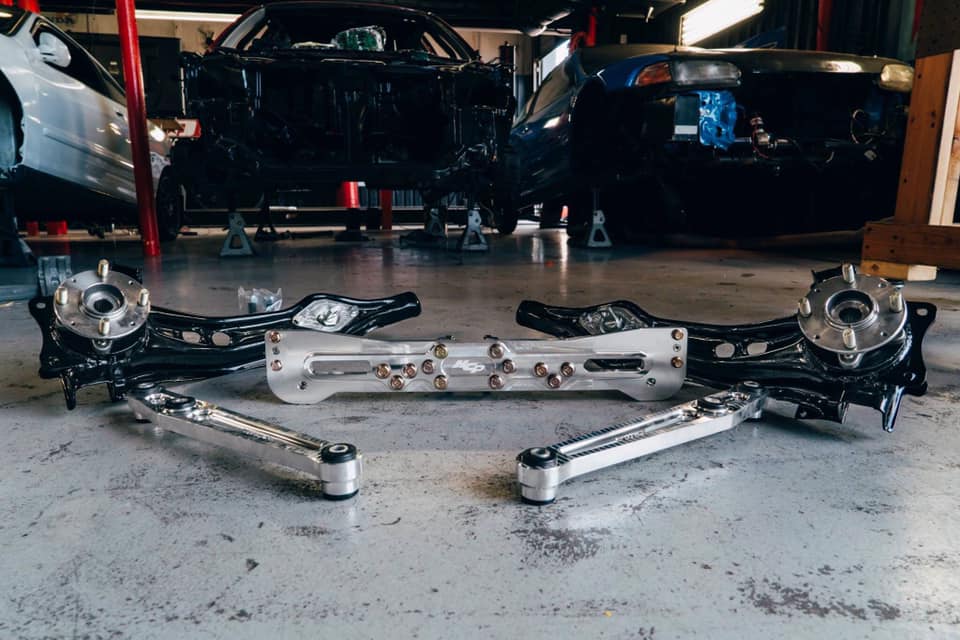
Driveline
This is the most magical part of the setup and the one that raises the most questions. How much does it cost to AWD swap a high powered race car? When we started, many of the products now available on the market were not available. No Transfer case gears, no billet housings. The setup is extremely simple, and will need upgrading, but currently has worked without flaw.
We used a standard PPG 1-4 SFWD Dogbox Gearset with a 5th gear brace all inside a 5Spd 2002 CRV transmission. Stock 4.7 final drive from the CRV. Stock T-Case. Stock T-Case gears. For a front LSD, we used a modified Quaife unit (the AWD versions were not available yet). And that’s it for the transmission build. About as simple as it can get.
For the AWD parts, we used almost all stock civic wagon parts. A shortened civic wagon driveshaft. The factory wagon viscous coupler rebuilt by Benjamin White and the factory open wagon rear differential. We do have custom length Insane Shaft rear axles due to the lengths needed for our model of the Hub City AWD Kit (which now uses 2 equal length long wagon axles).
For the AWD Kit, as previously stated, we used the Hub City Performance rear trailing arms and HCP LCAs that offset the strut to allow axle clearance. We were also one of the first people to receive the Hub City EK Billet rear diff mount. Specifically the one with the diff off center like a factory wagon which called for custom length axles.
As we installed all the piping at the end, we realized the car needed a brake tuck to make sure all the lines cleared the exhaust safely, so we elected to use the Finishing lines SFWD and staging brake kit.
To get the power to the tires, we tried a twin plate to start, but immediately destroyed it. After upgrading to an Action Clutch Triple Disk we’ve had no issues and it hooks up amazing!
For shifting, we’re using OEM RSX-S Cables, with a K-Tuned Pro-Cut shifter to setup a strain setup for no-lift shifting to optimize our times on the drag strip. The shifter rests on a Finishing lines billet plate with a staging brake provision that makes the entire package look slick.
HCP Trailing Arms Kit: $1500
HCP Billet Diff Mount: $800
Civic Wagon OEM Parts: $2500
Honda CRV Transmission: $1200
PPG Dogbox: $4800
Quaife LSD: $1250
K-Tuned Procut shifter: $1100
Finishing Lines Brake Tuck: $370
Insane Shaft Axles: $400
Action Clutch Triple Plate: $1300
TOTAL: $15,220
RUNNING TOTAL: $40,345

Cooling Parts:
Cooling is pretty straight forward. To get it all the act nice with our cylinder head and turbo, we used the K-Tuned coolant upper housing, 12an water lines from vibrant and a Speedfactory Drag Radiator to keep it cool. To simplify the system, we changed out the OEM water pump for a meizere 20gpm electric water pump.
Speedfactory Drag Radiator: $566
Meizere Water Pump: $225
K-Tuned Coolant Housing:$130
TOTAL: $921
RUNNING TOTAL: $41,266

Wheels/Tires
For wheels and tires, when it comes to Hondas, there’s only one brand that stands out in my eyes in the community. Of course, we had to use the Belak Racing wheels. Luckily, around WCF 2018, Damian released the SAWD Spec racing wheels. Because of the speeds we know the car will ultimately see, we got the beadlocked versions of the wheels in 13x10 and 15” rears. For slicks, we used a 13” M/T 24.5” slicks for the front and 15” M/T 24.5” slicks for the rear. In my opinion, the wheels are what really set the car off, and were a pricey, but worthwhile investment.
Belak SAWD Drag Wheels: $3800
Slicks: $800
TOTAL: $4600
RUNNING TOTAL: $45,866
Suspension
Funny enough with this build, we elected for the most basic of advice when it comes to building a car. ‘Use what you have’. The chassis we started with had a set of BLOX Competition Sport coilovers already on the car. DEFINITELY not the best choice for this setup, but it is something we will address soon.
We used a Full-Race Traction bar to make sure everything stays and place, and also used it as a mounting point for the ¼” weight bar that worked a shelf for all the accessories on the front of the car.
Full-Race Traction Bar: $279
Blox Coils: FREE
Weight Plate: $500
TOTAL: $779
RUNNING TOTAL: $46,645

Odds/Ends
These last parts are totally optional, but parts we used on the build. If you were trying to get an accurate snapshot of what to expect when jumping into one of these projects, hopefully this has help you set a realistic expectation. Obviously there are other things involved like labor prices, some machine work if you need it, and stupid shit that will happen as with any project car. Keep in mind this is a ‘BUDGET’ version of this sort of setup. I would consider this an entry-level build to jumping into a S-AWD race car. There are MANY parts that could be upgraded to make the build stronger. Billet Transmission casing ($3000+), Billet Transfer case ($1000), Upgraded T-Case Gears( $1000+), Upgraded Final Drive ($1000+), Ported Cylinder HEad ($1250+), Aluminum Rods ($800), Carbon Fiber Driveshafts, DSS 5.9 Axles, Bigger intercooler, more injectors, etc. The list goes on and on. To build a top-of-the-line competitor requires 10s of thousands of more dollars to be ‘reliable’. But the truth is, with racecars like these, they’re built in iterations and built up on slowly, so don’t let these numbers discourage you. That being said, I’ve laid out the basic list of parts you’ll need to get started to make a 1000+HP AWD Dragster. I’ve also omitted some parts, so I’m going to add them here.
I'm sure I missed some parts here, but here's a rough outline.
Eg Subframe: $100
JerryBuilt Fiberglass 3-Piece Front: $850
PCI Side Skirts: $225
CCC Racing Outlaw EK Drag Wing: $400
Aerocatch Hood Pins: $65
Skunk2 Billet Timing Cover: $330
TOTAL: $1970
RUNNING TOTAL: $48,615
